02 Colab
1 The Google Colab labs
The purpose of these labs is to:
Introduce and practice the Google Colab environment
Practice building neural networks in conventional and computer vision problems
2 Colab
The nice thing about Colab is that it is very easy to use, and provides free access to a virtual computing space through your web browser without the need to install anything locally. It is also a very powerful tool with a lot of options, possible workflows and applications. We will explore a little bit of this functionality while we also explore neural networks and computer vision in these labs.
We recommend using Google Chrome for these labs. Other browsers may work but may require a bit of extra adjustment.
Pros:
free
no setup
GPU (graphical processing unit) computing access
Automatically links to free Google account
cons:
Restricted administration rights
Time limits on use
Workspace is not persistent
Requires Google account
You will need to be signed in to your Google account, then you can launch Colab.
3 Lab start
Here you will use Git to make a local copy of the notebooks you will use for this set of labs.
3.1 start a new Colab notebook
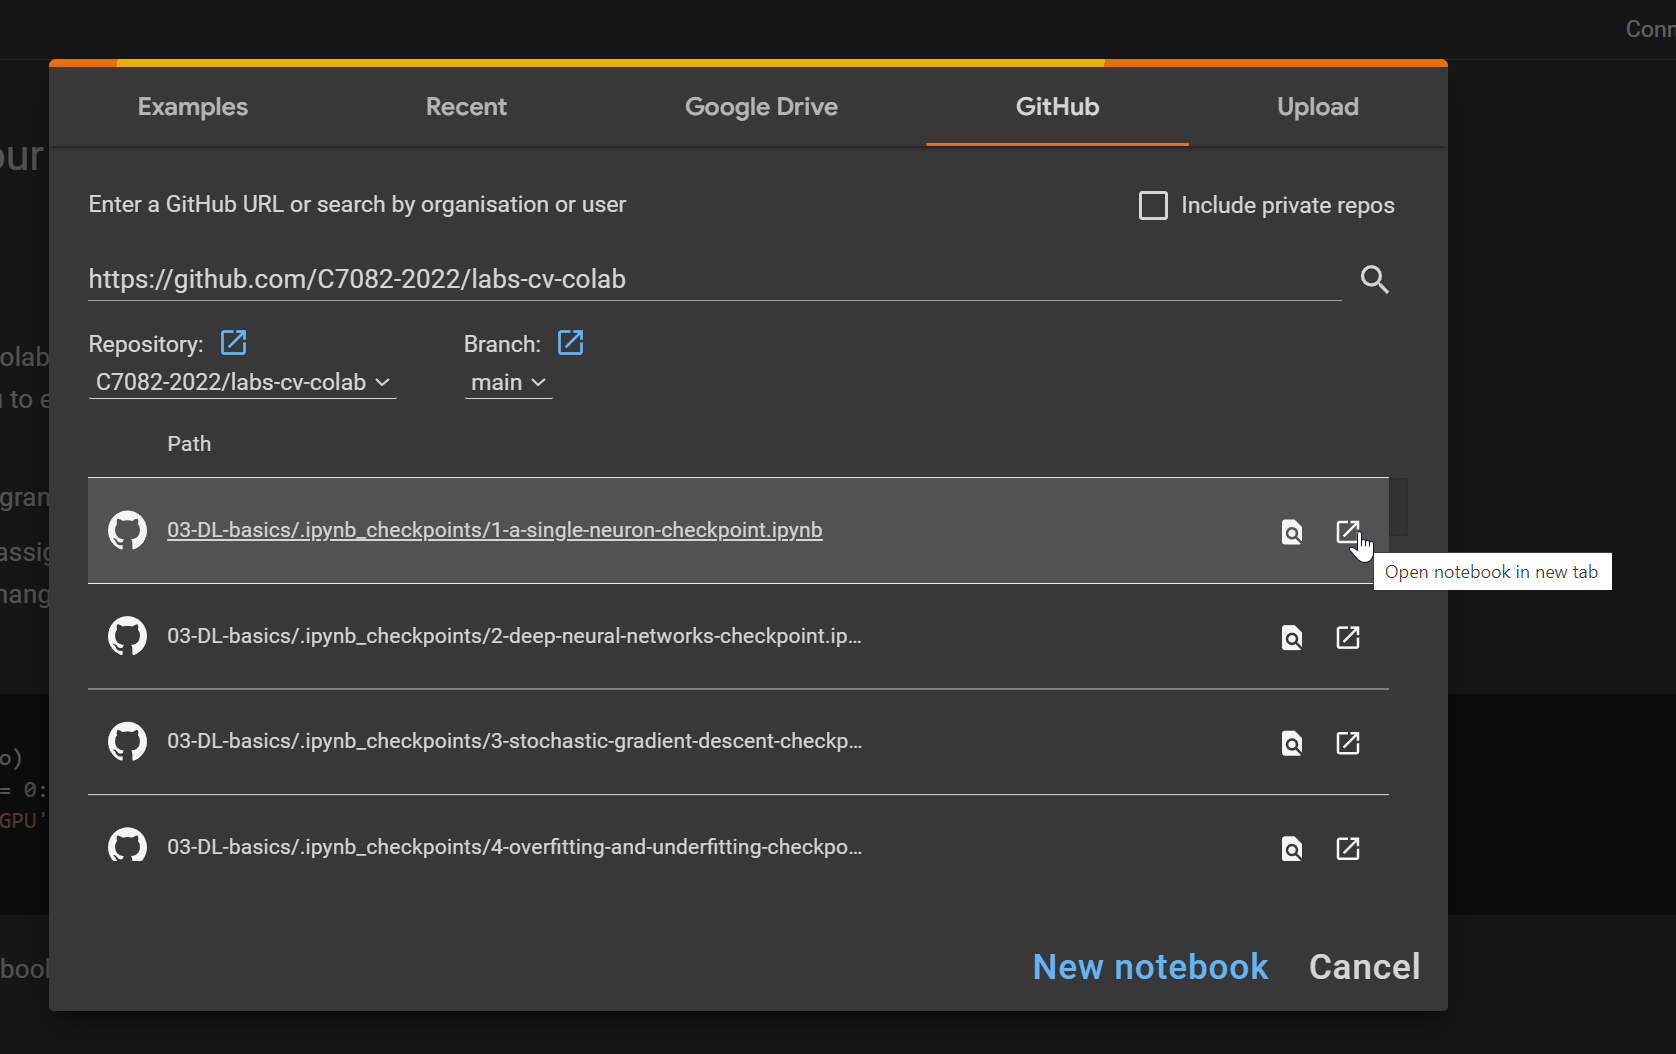
The splash screen when you land on the Google Colab interface should look similar to the picture below. Begin by selecting the Github tab.
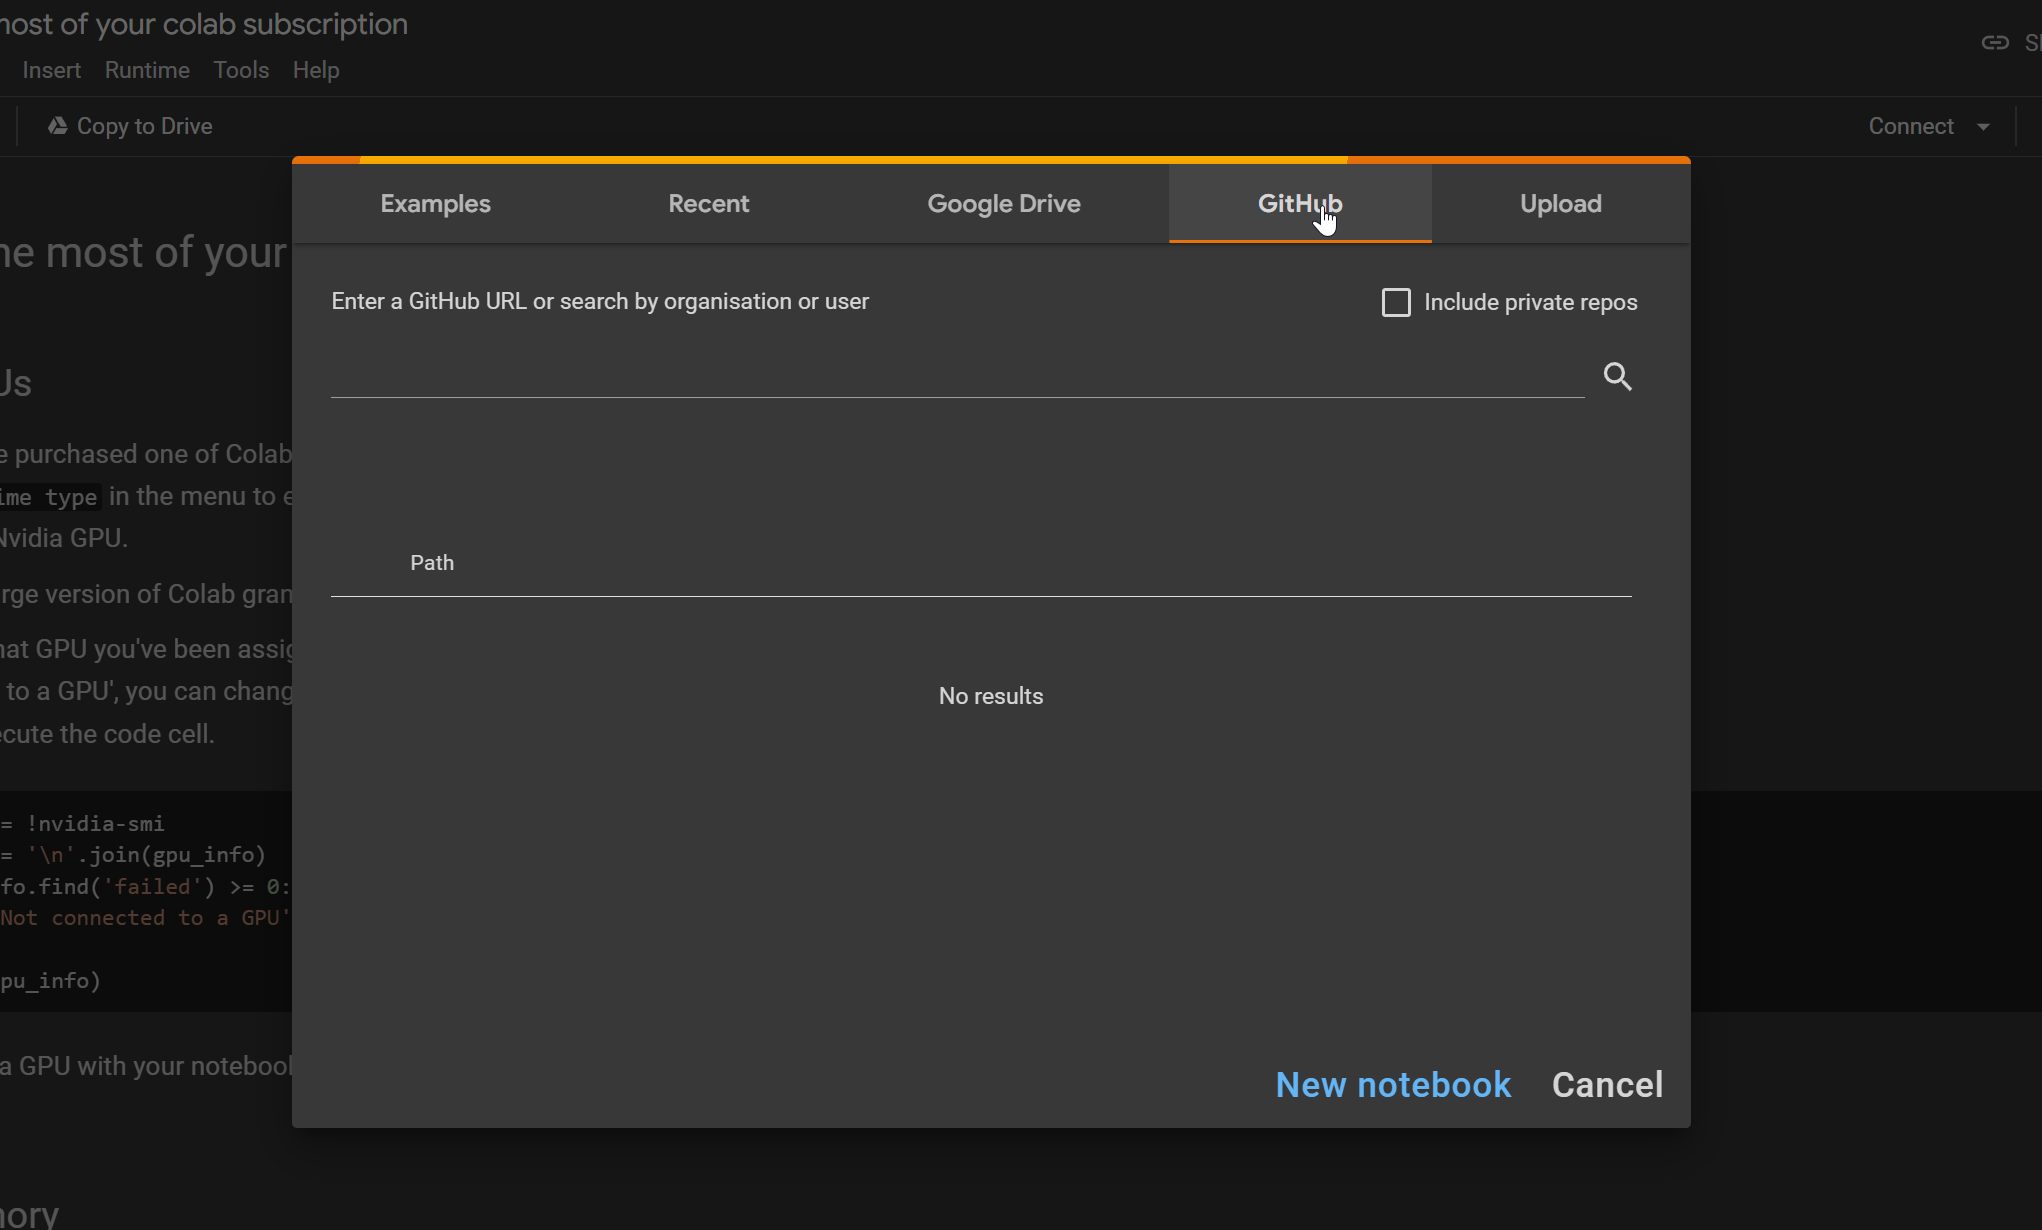
Your notebook should look similar to mine. Enter the Github address location for our labs and hit the search (magnifying glass).
https://github.com/C7082-2022/labs-cv-colab
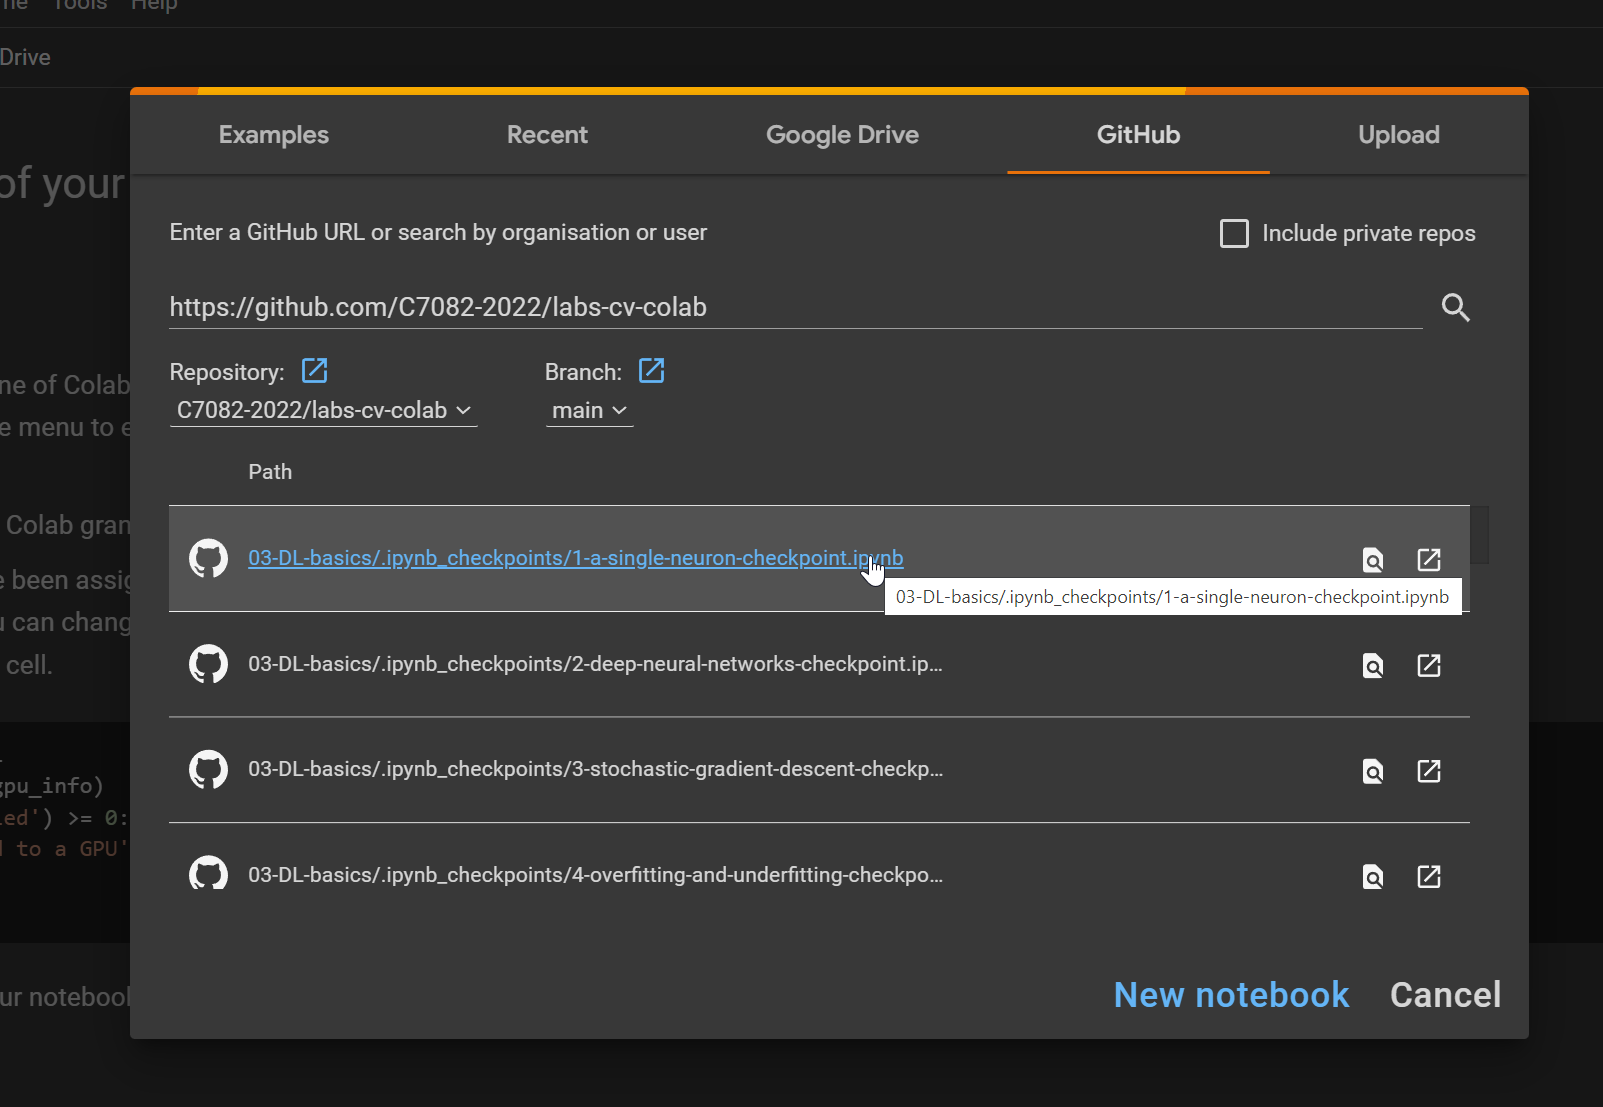
Find the first notebook, and click the icon to open it in a new browser tab
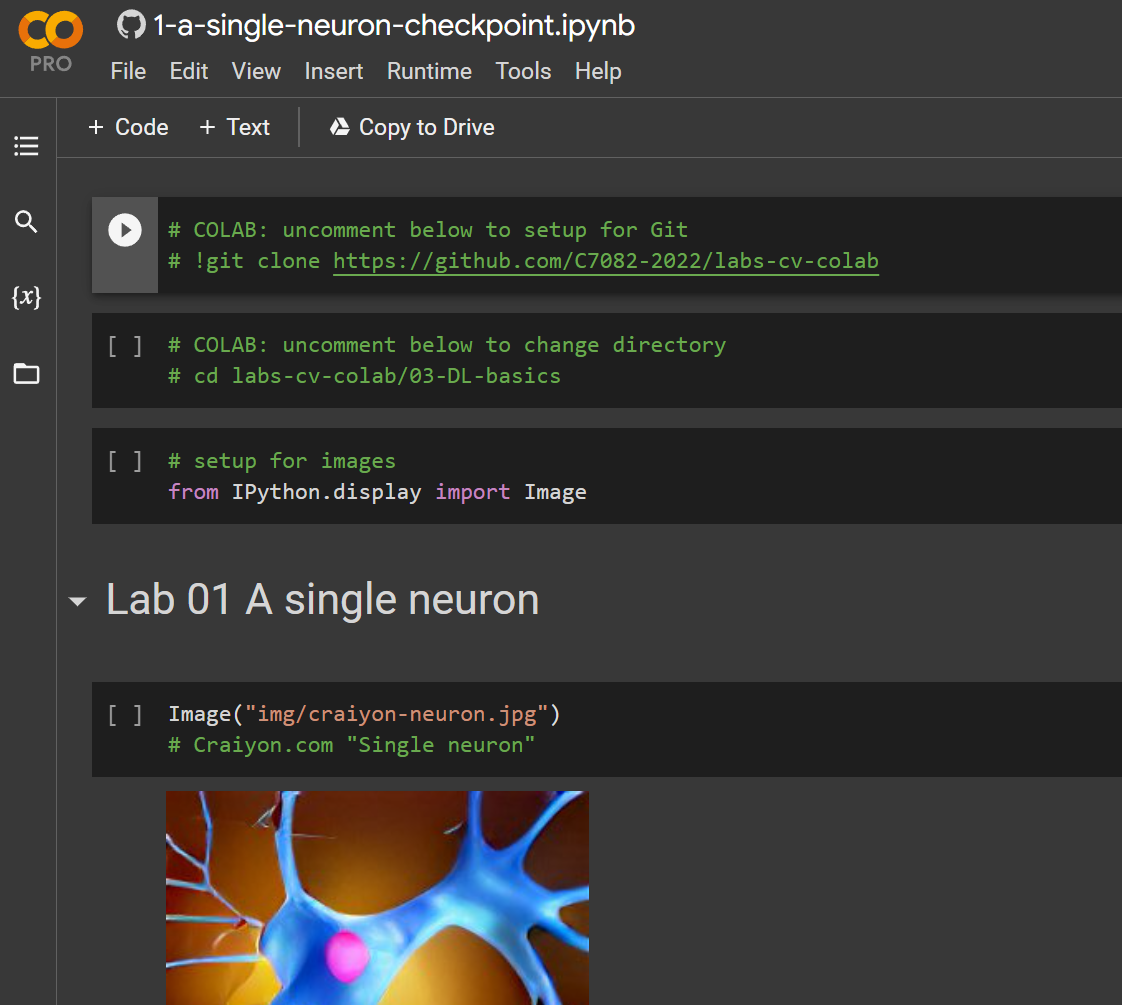
You should see something similar to the picture below.
3.2 Git clone the Colab lab notebooks
You will download the data and other files needed in the Github repo into your temporary Google Colab space. The environment is not persistent when you use Colab, so you will need to set up your environment every time you use it, for example on different days or between sessions. Luckily this is easy and is just a basic part of the Colab workflow.
Click on the files icon on the left pane of your Colab notebook.
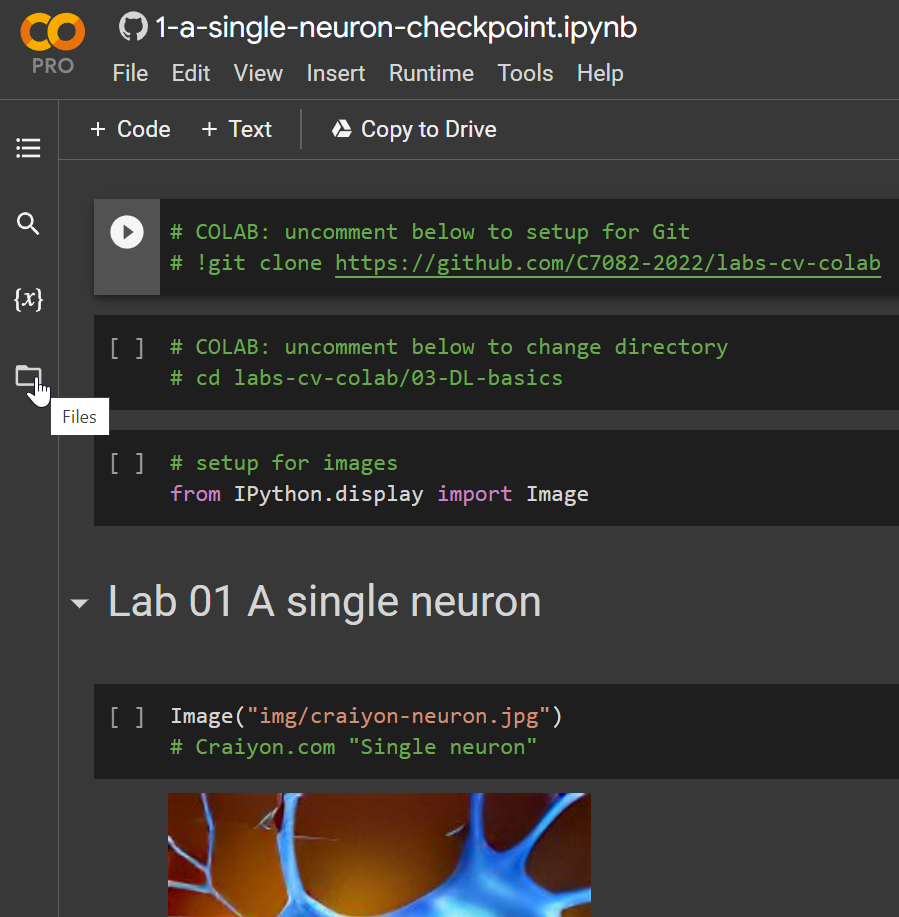
This opens a visualization of your default workspace, where data and other assets may be stored in your cloud space,
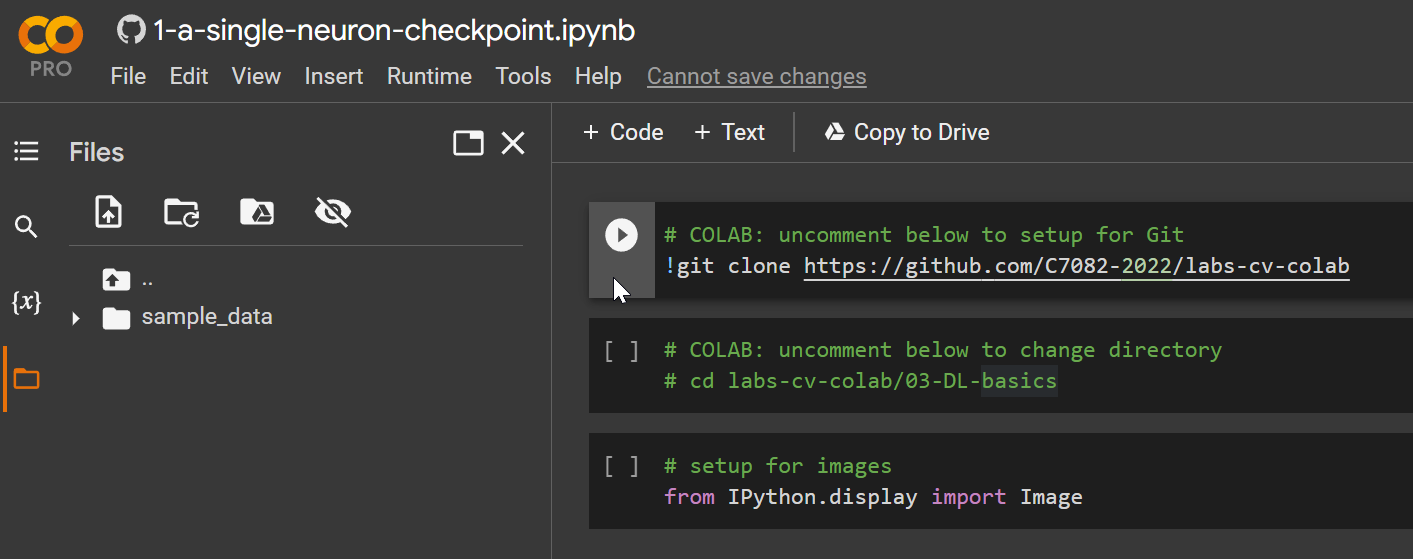
3.3 Uncomment and run the first cells
A first step for this first notebook will be to clear all the cell outputs. These are outputs created when the notebooks were first comiled (and the workflow for these pages prevents easily clearing them before you download them).
From the dropdown menu: Edit > Clear all outputs
![]()
Uncomment the second line of the the first two cells and run them one at a time. The first one ‘Clones’ the lab material for the notebooks into your workspace. NB the first time you run a notebook you did not author, you will get a warning. Here it is perfectly safe to ignore the warning (you know who the author is, the page is very simple and you can examine it before running, you know the purpose of the notebook, etc.).
It is prudent to heed the warning for random Colab notebooks you may find on the internet…
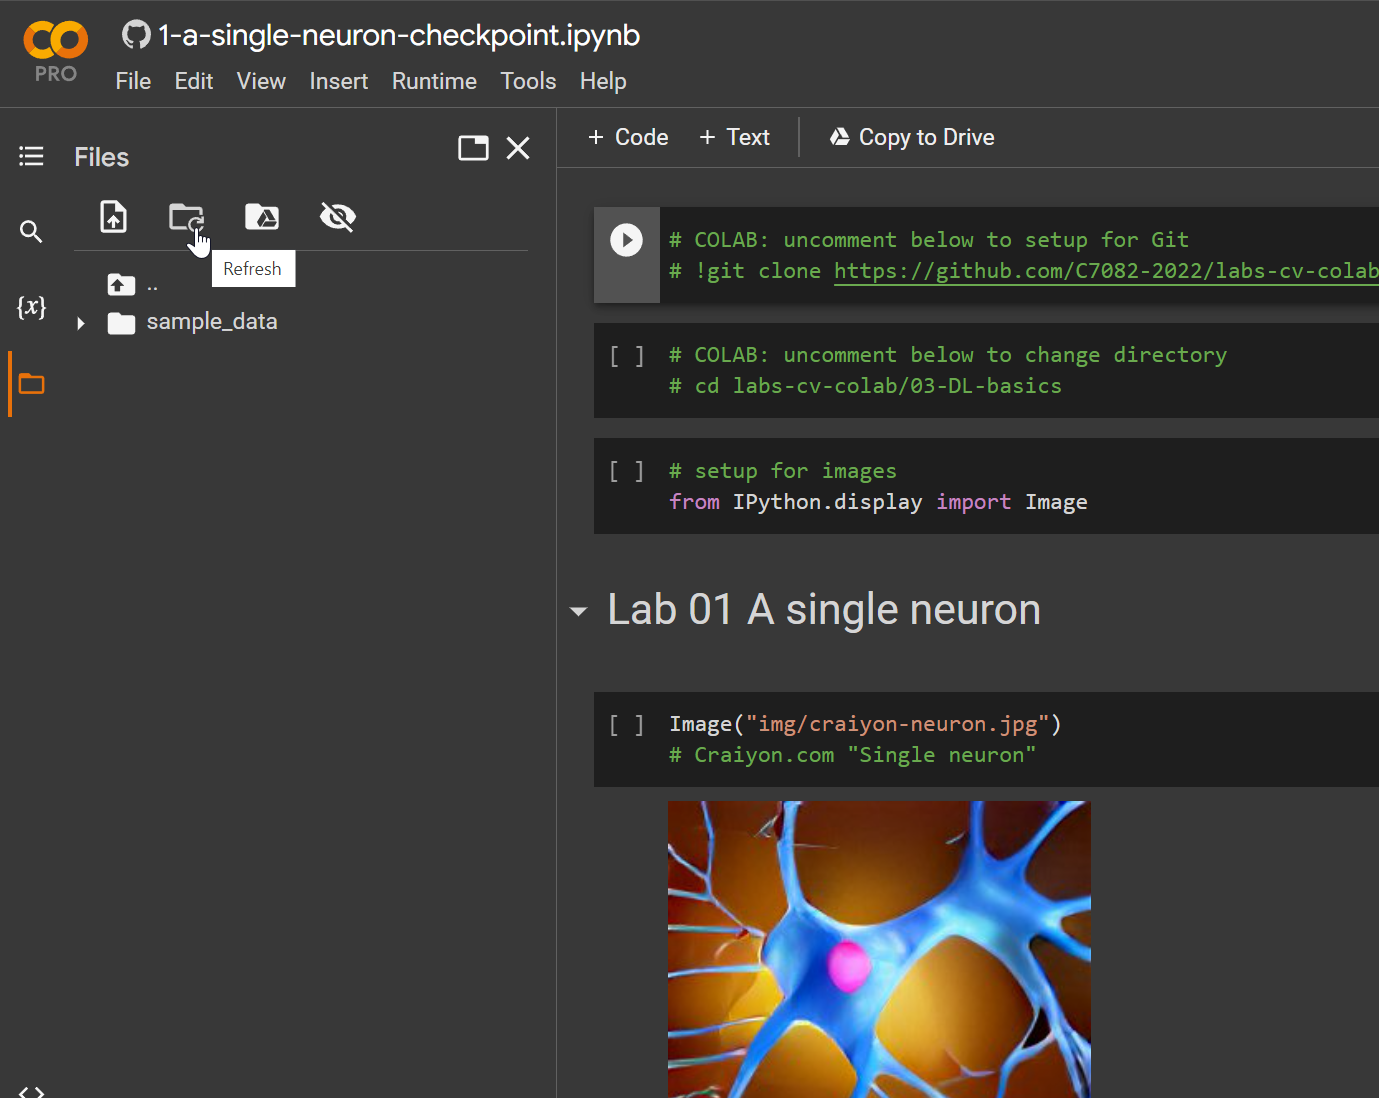
After cloning, your workspace should look similar to mine (you may need to hit the refresh button for your folder visualization)
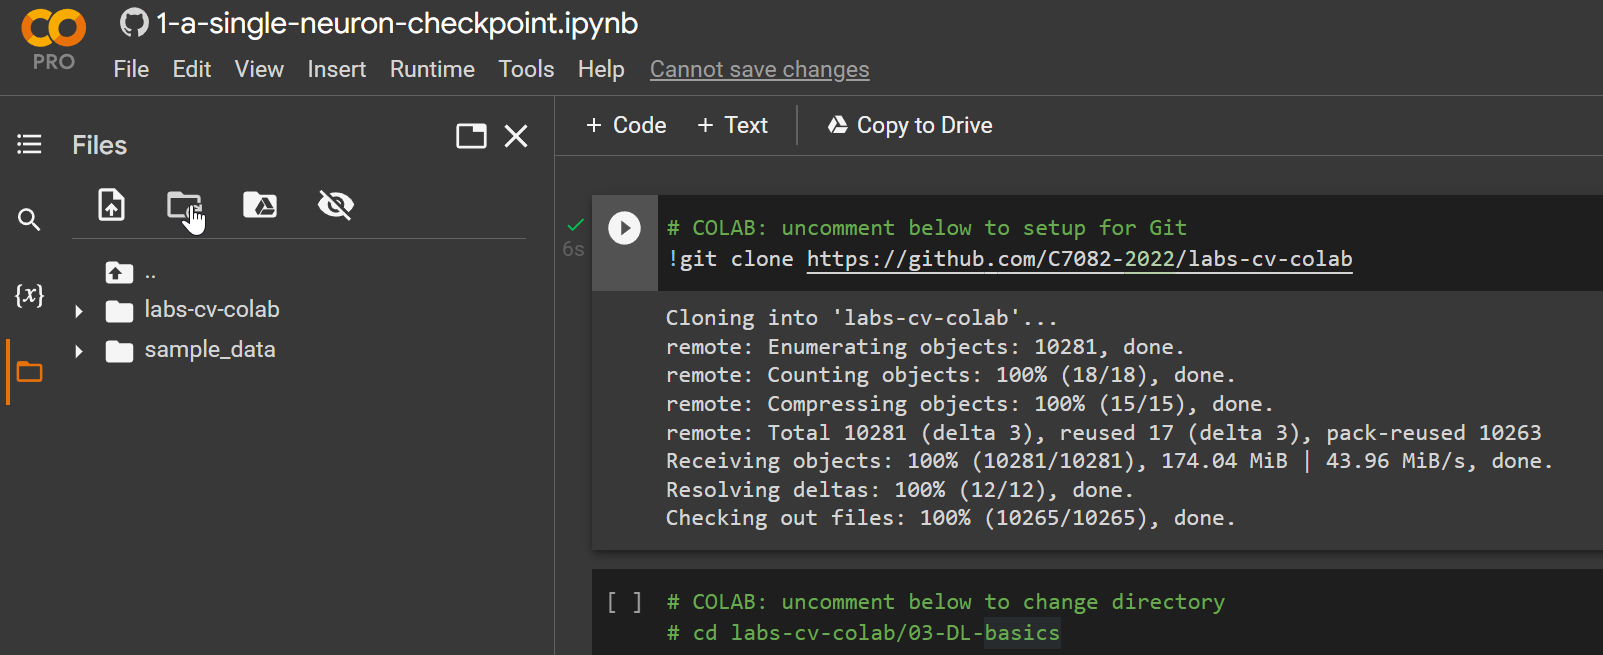
Congratulations - now you are ready to complete the Colab labs using the methods we have illustrated here.